Introduction
Welcome to my blog post on Font Awesome 6 in Xcode & SwiftUI.
In this post, I’ll be sharing with you the steps on how to install Font Awesome icons in your Xcode project using SwiftUI.
We’ll start by downloading the font files, adding the .otf files to the project, adding the fonts to the Info.plist file and creating a new struct for CustomFonts.
Then, I’ll show you how to use Font Awesome icons in your Xcode project. I’ll take you through the process of searching for an icon on Font Awesome, copying the glyph, and adding the icon as text.
To wrap things up, I’ll also include a style preview to give you an idea of the various font styles available. Whether you’re a beginner or an experienced iOS developer, this post will guide you through the process of adding Font Awesome icons to your Xcode project with ease.
How to add…
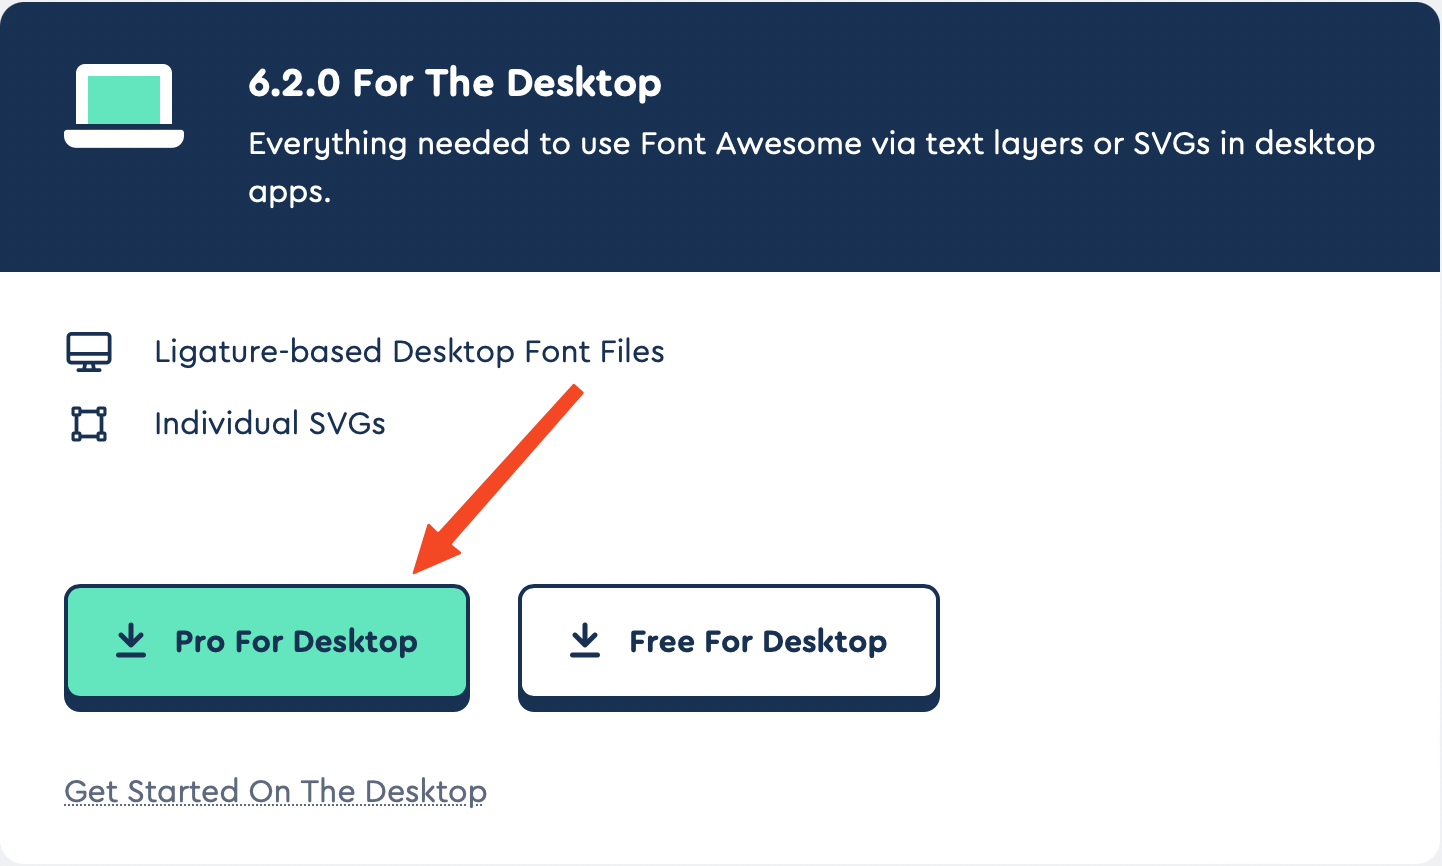
1. download the font files
→ use the „For The Desktop“ Version
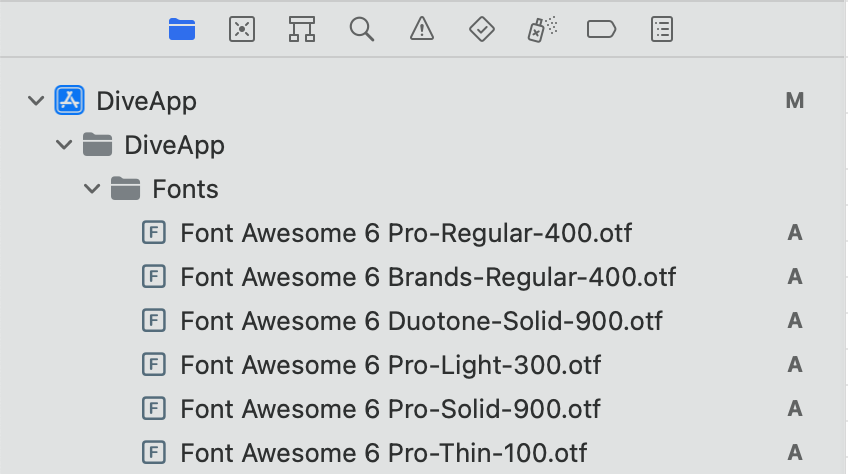
2. add .otf files to the project
You will then be prompted with a dialog box.
Warning
Be sure to check your project name under “Add to targets.”
This will ensure that your fonts are compiled as assets at build time.

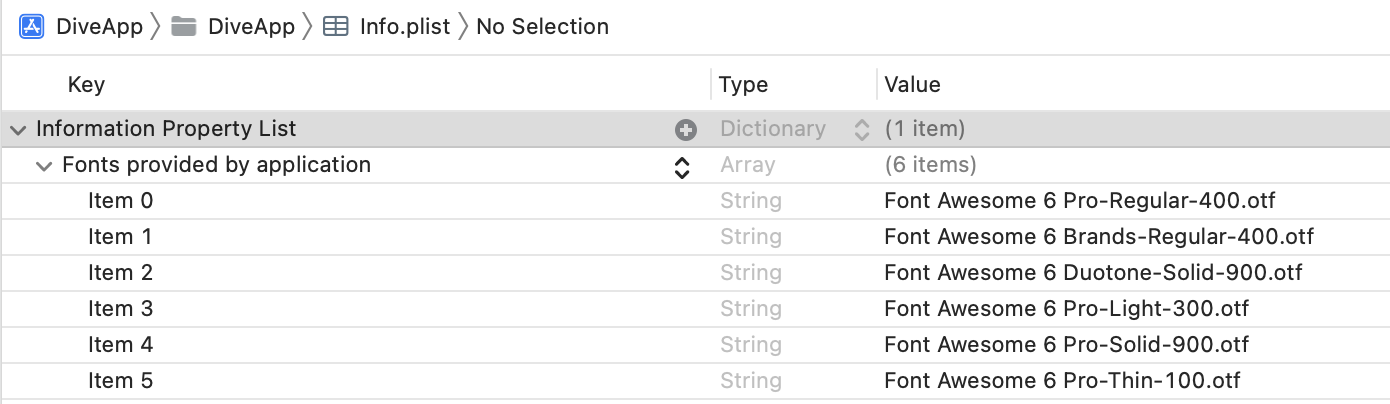
3. add the fonts to „Info.plist“ file
<key>UIAppFonts</key>
	<array>
		<string>Font Awesome 6 Brands-Regular-400.otf</string>
		<string>Font Awesome 6 Duotone-Solid-900.otf</string>
		<string>Font Awesome 6 Pro-Light-300.otf</string>
		<string>Font Awesome 6 Pro-Regular-400.otf</string>
		<string>Font Awesome 6 Pro-Solid-900.otf</string>
		<string>Font Awesome 6 Pro-Thin-100.otf</string>
		<string>Font Awesome 6 Sharp-Light-300.otf</string>
		<string>Font Awesome 6 Sharp-Regular-400.otf</string>
		<string>Font Awesome 6 Sharp-Solid-900.otf</string>
		<string>Font Awesome 6 Sharp-Thin-100.otf</string>
	</array>
</dict>
Note
The fonts might not be named like these anymore.
Check real filenames!
4. create a new struct for CustomFonts
- create a new Swift File (name: “CustomFonts)
- add this code
extension View {
    func faPro(size: CGFloat) -> some View {
        self.font(.custom("FontAwesome6Pro-Regular", size: size))
    }

    func faProLight(size: CGFloat) -> some View {
        self.font(.custom("FontAwesome6Pro-Light", size: size))
    }

    func faProSolid(size: CGFloat) -> some View {
        self.font(.custom("FontAwesome6Pro-Solid", size: size))
    }

    func faProThin(size: CGFloat) -> some View {
        self.font(.custom("FontAwesome6Pro-Thin", size: size))
    }

    func faDuotone(size: CGFloat) -> some View {
        self.font(.custom("FontAwesome6Duotone-Solid", size: size))
    }

    func faSharp(size: CGFloat) -> some View {
        self.font(.custom("FontAwesome6Sharp-Regular", size: size))
    }

    func faSharpLight(size: CGFloat) -> some View {
        self.font(.custom("FontAwesome6Sharp-Light", size: size))
    }

    func faSharpSolid(size: CGFloat) -> some View {
        self.font(.custom("FontAwesome6Sharp-Solid", size: size))
    }

    func faBrands(size: CGFloat) -> some View {
        self.font(.custom("FontAwesome6Brands-Regular", size: size))
    }

    func faSharpThin(size: CGFloat) -> some View {
        self.font(.custom("FontAwesome6Sharp-Thin", size: size))
    }
}
How to use…
1. go to Font Awesome and search for an icon
2. click Copy Glyph
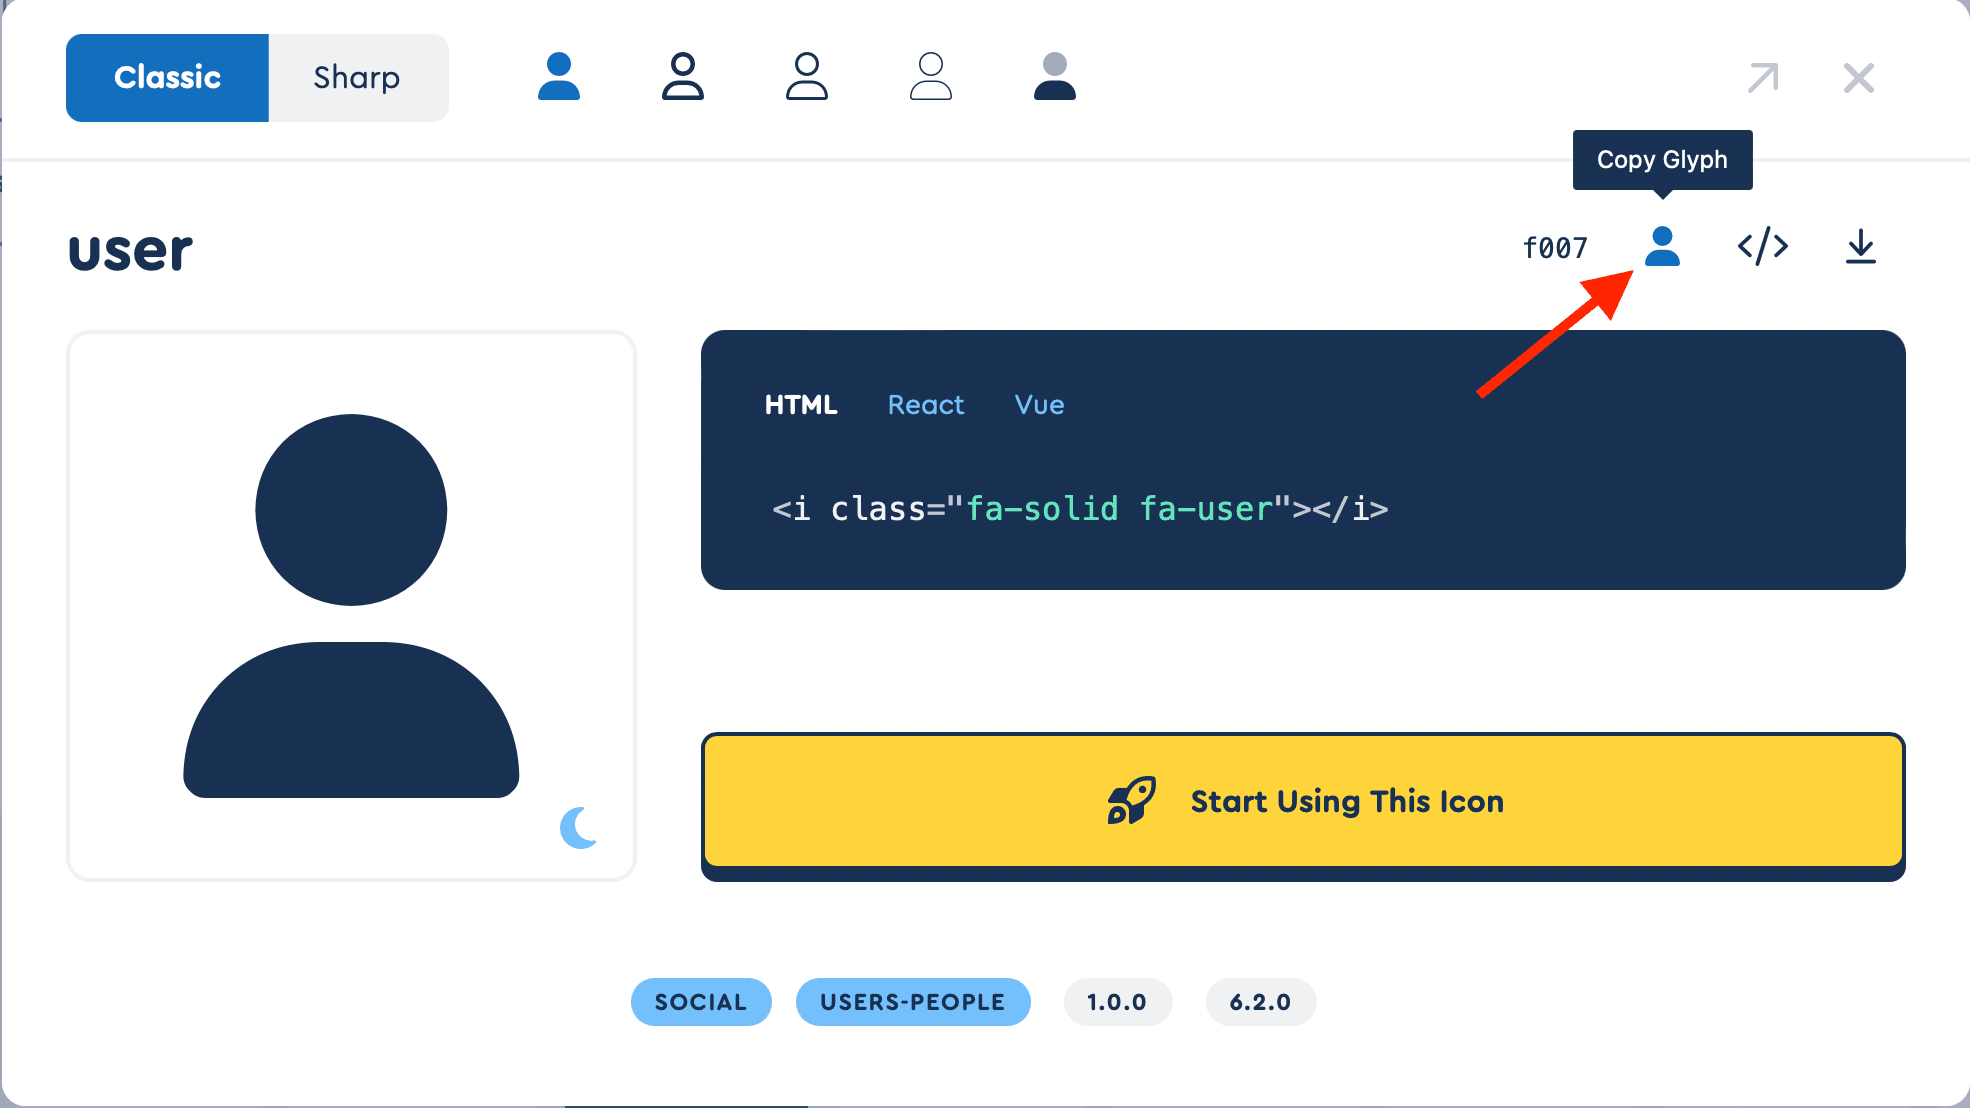
3. add the icon as text
Text("<icon>")
	.faProSolid(size: 20)

Text("<icon>")
	.faDuotone(size: 20)

Text("<icon>")
	.faSharpThin(size: 20)
Style preview